You have followed a recipe exactly — measured every ingredient, watched the clock — and the result was disappointing. The chicken was dry, the vegetables mushy, the sauce bland. The problem is not the recipe. The problem is technique. Cooking is a craft, and like any craft, it relies on fundamental skills that no ingredient list can teach.
Knowing how to sear, braise, sauté, and roast transforms your relationship with food. You stop following instructions mechanically and start understanding why each step matters. This knowledge gives you the freedom to improvise, substitute, and recover from mistakes without reaching for a takeout menu.
In this guide, we cover the essential cooking techniques every home chef should master, from basic knife skills to advanced methods like sous vide. Each section explains the science behind the technique and gives you practical steps to apply it immediately.
Knife Skills: The Foundation of Good Cooking
Before you cook anything, you need to cut it. Good knife skills are not about speed — they are about consistency. Vegetables cut to the same size cook evenly. A proper dice means your onions soften at the same rate as your carrots. Uneven cuts guarantee uneven cooking, no matter how skilled you are with heat.
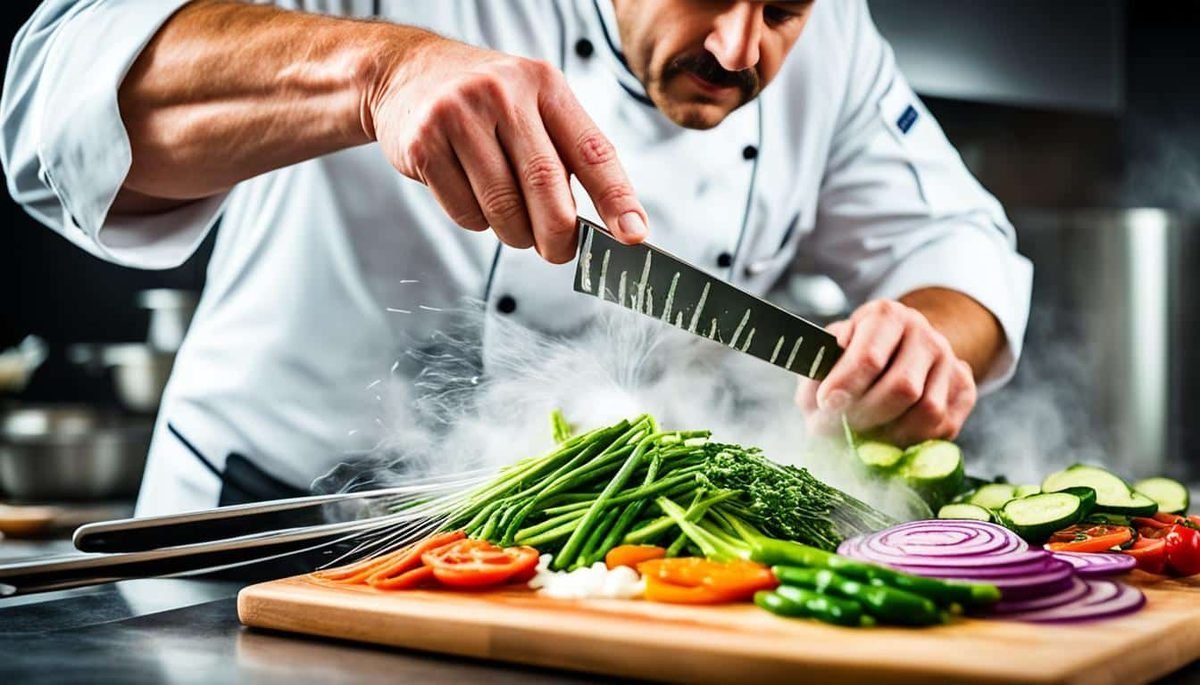
Start with your grip. The pinch grip — pinching the blade just above the handle between thumb and forefinger — gives you maximum control. Your other hand forms a claw, fingertips tucked under, knuckles guiding the blade. This position keeps your fingertips safe and produces straight, even cuts. Practice with onions: slice pole-to-pole, then chop in a rocking motion without lifting the tip from the board.
A sharp knife is safer than a dull one. Dull knives slip. A sharp knife bites cleanly into the ingredient, requiring less force and producing less debris. Hone your knife with a steel before each use (this realigns the edge, it does not sharpen). Sharpen on whetstones every few months or when the knife feels like it is pushing rather than slicing.
The three most useful cuts to master are the dice (even cubes), the julienne (matchsticks), and the chiffonade (thin ribbons of leafy herbs or greens). Once these are second nature, you can approach any recipe with confidence.
Sautéing: High Heat, Quick Movement
Sautéing is the workhorse of home cooking. The word comes from the French for "to jump" — food is tossed in a hot pan with a small amount of fat, cooking quickly over high heat. The goal is browning and flavor development, not steaming.
The most common mistake is overcrowding the pan. When you add too much food at once, the pan temperature drops, and the food steams instead of browning. A crowded pan produces gray, watery results. Cook in batches if necessary — it takes the same total time but produces much better results.
Use a pan large enough that each piece of food touches the surface. The fat should shimmer, not smoke. Once the food hits the pan, let it sit undisturbed for 30-60 seconds to develop a crust. Then toss or stir. If it sticks, it is not ready to turn — it will release naturally when browned.
Garlic and fresh herbs go in late in the process because they burn quickly. Deglaze the pan after removing the main ingredient — add a splash of wine, stock, or water and scrape up the browned bits (called fond) to create an instant pan sauce.
Roasting: Dry Heat, Deep Flavor
Roasting uses dry, indirect heat to cook food evenly while caramelizing the exterior. It works for vegetables, meats, poultry, and even fruit. The high temperature (usually 375-450°F / 190-230°C) triggers the Maillard reaction — the chemical process that creates browned, savory flavor compounds.
For vegetables, the key is cutting them to uniform size and giving them space. Crowded vegetables steam. Spread them in a single layer on a sheet pan, toss with oil and salt, and do not disturb them halfway through. Let them roast undisturbed until the bottoms are deeply browned, then flip. The difference between pale, soggy roast vegetables and caramelized, sweet ones is simply patience and space.
For meat, start with the protein at room temperature. Pat it dry with paper towels — moisture is the enemy of browning. Season generously with salt at least 40 minutes before cooking (or overnight in the fridge). Use a thermometer, not time, to determine doneness. Probes are cheap and eliminate guesswork.
Professional chefs say "the oven does the work" — roasting requires less active attention than stovetop cooking but demands respect for temperature and timing. Trust your thermometer more than the recipe's time estimate.
Braising: Low and Slow
Braising is the technique for tough cuts of meat that need time to become tender. The process has two stages: first, sear the meat at high heat to develop deep browning. Second, cook it slowly in a covered pot with a small amount of liquid — stock, wine, or a combination — until the connective tissue breaks down into gelatin.
The ideal braising temperature is a gentle simmer (around 185-205°F / 85-96°C). A rolling boil will toughen meat rather than tenderize it. The liquid should come about one-third to halfway up the meat, not submerge it entirely — you want the exposed top to remain in the moist heat of the covered pot.
Braising excels at transforming inexpensive ingredients. Chuck roast, pork shoulder, lamb shanks, and chicken thighs all become meltingly tender after 2-3 hours of braising. The leftover liquid, strained and reduced, becomes a rich sauce on its own.
A common mistake is skipping the sear. Skipping browning saves five minutes but costs a tremendous amount of flavor. The fond created during searing is what gives braised dishes their deep, complex taste.
Sous Vide: Precision Cooking at Home
Sous vide (French for "under vacuum") involves cooking food sealed in a bag in a precisely temperature-controlled water bath. The advantage is exact doneness: a steak cooked at 130°F will be medium-rare edge to edge, with no gray band of overcooked meat. The technique eliminates the guesswork of traditional cooking.
An immersion circulator is the only specialized equipment needed. You do not need a vacuum sealer — the water displacement method works: place food in a zip-top bag, seal almost completely, then submerge slowly, letting water pressure push the air out through the opening. Seal fully and cook.
Sous vide is forgiving of timing. Food held at its target temperature for an extra hour (or two) will not overcook. This makes it ideal for meal prep and entertaining — cook a steak to perfect medium-rare hours ahead, then sear it in a hot pan for 30 seconds per side right before serving.
The technique excels for meat and fish, but it also works wonders for vegetables. Carrots cooked sous vide at 183°F for an hour retain their texture and sweetness in a way boiling cannot match. Eggs cooked at 145°F produce a custard-like yolk and tender white — the famous "onsen tamago."
Braising vs. Stewing: Two Sides of the Same Coin
Braising and stewing are often confused. Braising uses a small amount of liquid and is best for larger cuts of meat. The meat sits partially submerged, and the exposed surface cooks in the steam. Stewing uses enough liquid to fully submerge smaller pieces of meat and vegetables. Both use low, slow heat to break down collagen.
For stews, cut the meat into uniform pieces and brown them in batches. Do not rush this step — a proper sear on each side creates depth. Once all meat is browned, sweat your aromatics (onions, garlic, celery, carrots) in the same pot, scraping up the fond. Add liquid and return the meat with any accumulated juices. Simmer gently until fork-tender.
The difference in texture is noticeable: braised meat can be sliced and served in neat portions, while stewed meat shreds into the gravy. Both are excellent, but they serve different purposes. Braising is for a Sunday roast; stewing is for a winter dinner that fills the house with aroma.
Mastering these core techniques — knife skills, sautéing, roasting, braising, sous vide — gives you a framework for approaching any recipe. You stop cooking "by the book" and start cooking by understanding. For deeper dives into each technique with step-by-step photo guides and video tutorials, visit FlavorFusion's Technique Library.